Description
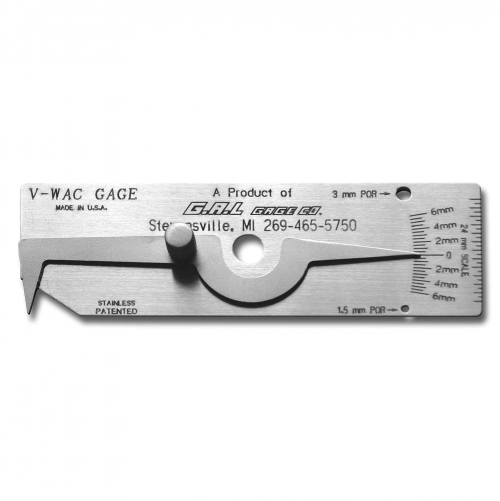
The Galgage Single Purpose Hi-Lo Welding Gauge is available for both inch and metric measurements.
With this gauge you can:
- Verify internal misalignment after fit-up
- And measure fit-up gap between 1/32 of one inch and 3/16 of one inch after fit-up
First we’ll check for internal misalignment. Loosen the retaining screw and extend the legs, or the wires, beyond the housing of the gauge. Now, insert the legs, into the fit-up gap and rotate the gauge 90 degrees. With the gauge housing held square with the pipe wall, we can check for internal misalignment on this scale. If the line indicator lines up with the 1/32″ line, as in this fit-up, there is no misalignment. If the indicator line varies from the 1/32″ line, as in this fit-up, there is misalignment of the pipes.
We’ll use the opposite end of the gauge to measure the fit-up gap. First loosen the retaining screw and gently insert the gauge into the gap. The leg with the indicator line and the short taper will stop before the leg with the scale and the long taper. When the leg with the scale and the long taper stops, tighten the retaining screw and gently pull the gauge from the pipe and read the measurement from this scale This gap reads just under 1/8 of one inch.
Galgage Single Purpose Hi-Lo Welding Gauge is available individually from G.A.L. Gage Company or it is included in our complete set of gauges available in our Brief Case type Large Tool Kit.
Galgage Guages are Proudly made in the U.S.A


